Elden Ring and its Shadow of the Erdtree DLC are legendary in the gaming world for their brutally challenging boss fights set in a breathtakingly dark high-fantasy universe. While some bosses are mandatory to progress the story, the truly dedicated Tarnished seek out the optional ones—those extra trials that separate the casual players from the hardcore legends. These foes range from lightning-fast swordsmen to colossal, reality-bending dragons, each offering a unique test of skill, patience, and sheer willpower. Let's dive into the ranking of the absolute hardest optional bosses across the Lands Between and the Land of Shadow. Buckle up, Tarnished, it's gonna be a wild ride.
10. Ancient Hero of Zamor
This guy is the definition of "deceptively dangerous." He might look like he's taking a casual stroll, but don't let that fool you. The Ancient Hero of Zamor is a master of frost magic and adaptive AI that reads your playstyle like an open book.
-
The Chill Threat: His sword applies Frostbite with every hit, which not only chunks your health but also makes you take more damage. Not cool, literally.
-
Phase Two Rampage: The fight gets real when he enters his second phase, switching from calculated strikes to graceful yet relentless aggression. He'll either hit you with a massive wave of frost from afar or close the distance in a blink with a spinning flurry of attacks.
-
The Vibe: Fighting him feels like a deadly dance. It's thrilling, punishing, and a fantastic warm-up for what's to come.
9. Elemer of the Briar
Found brooding in the cramped halls of The Shaded Castle, Elemer is aggression personified. This is a boss who failed his own execution and now takes his anger out on anyone who dares disturb him.
-
Signature Move: He wields the Marais Executioner’s Sword with its infamous skill, Eochaid’s Dancing Blade—a corkscrew projectile that will hunt you down.
-
Arena Nightmare: The fight takes place in a tiny room, making his wide, sweeping sword arcs and ranged attacks incredibly hard to dodge. There's literally no room for error.
-
Playstyle: He forces you to master rolling and blocking under extreme pressure. It's a pure test of fundamentals in the worst possible environment.
8. Knight of the Solitary Gaol (Shadow of the Erdtree)
Hoo boy, this guy from the DLC is a sleeper hit of difficulty. Found at the Western Nameless Mausoleum, he looks like just another knight... until he moves.
-
Weapon Swap King: He seamlessly switches between a Greatsword for crushing jump attacks and a Crossbow that fires arrows like a machine gun in a wide spray. Talk about versatile!
-
Lightning Reflexes: His reaction speed is insane. He can counter your actions almost instantly with a sprinting quick slash that will catch any player off guard.
-
The Lesson: He teaches you that in the Land of Shadow, even the "basic" humanoid enemies can be absolute monsters.
7. Valiant Gargoyles
Located deep in the Siofra Aqueduct, this dynamic duo is the stuff of nightmares for any solo player. It's the ultimate gank fight.
-
Tag-Team Terror: You start fighting one Gargoyle with a greataxe and shortsword. Once its health drops, a second one joins the party wielding a twinblade and greataxe. The difficulty spikes exponentially.
-
Deceptively Fast: Don't let their size fool you. They are bulky yet blisteringly fast, with attacks that have huge area-of-effect (AoE) and can easily stagger you.
-
Survival Tip: Managing two massive health bars while avoiding constant AoE staggers is the core challenge. This fight is pure chaos management.
6. Putrescent Knight (Shadow of the Erdtree)
This boss is a glorious, disgusting mess. The Putrescent Knight is St. Trina’s knighted mass of dying flesh, riding a steed and swinging a massive cleaver with chaotic, wobbly aggression.
-
Phase Two Nuke: In his second phase, he casts Vortex of Putrescence, rising up and firing blobs that explode into ghostflame, building up Frostbite.
-
Unpredictable Moveset: His attacks are hard to read due to his thrashing, unstable posture. He loves to leap off his horse for a slam attack followed by relentless spins, leaving few safe windows to punish.
-
The Vibe Check: A relentless attacker with massive AoE capabilities. This fight feels less like a duel and more like trying to survive a natural disaster made of rot and bone.
5. The Mother of All Fingers (Metyr)
Metyr is a true eldritch horror—a scorpion-like monstrosity made entirely of fingers. She's a master of powerful magic that dominates the entire battlefield.
-
Sniper Mode: At a distance, she'll laser you with her gaze. In phase two, this attack becomes a deadly quadruple shot.
-
Devastating Moves: Her Tail Orb attack is a run-ender. She levitates, glows purple, and crashes down with incredible force. She also mixes in powerful leaps and magic eruptions.
-
Battlefield Control: Metyr doesn't just attack you; she controls the space you fight in. Overcoming her variety of abilities is a monumental task.
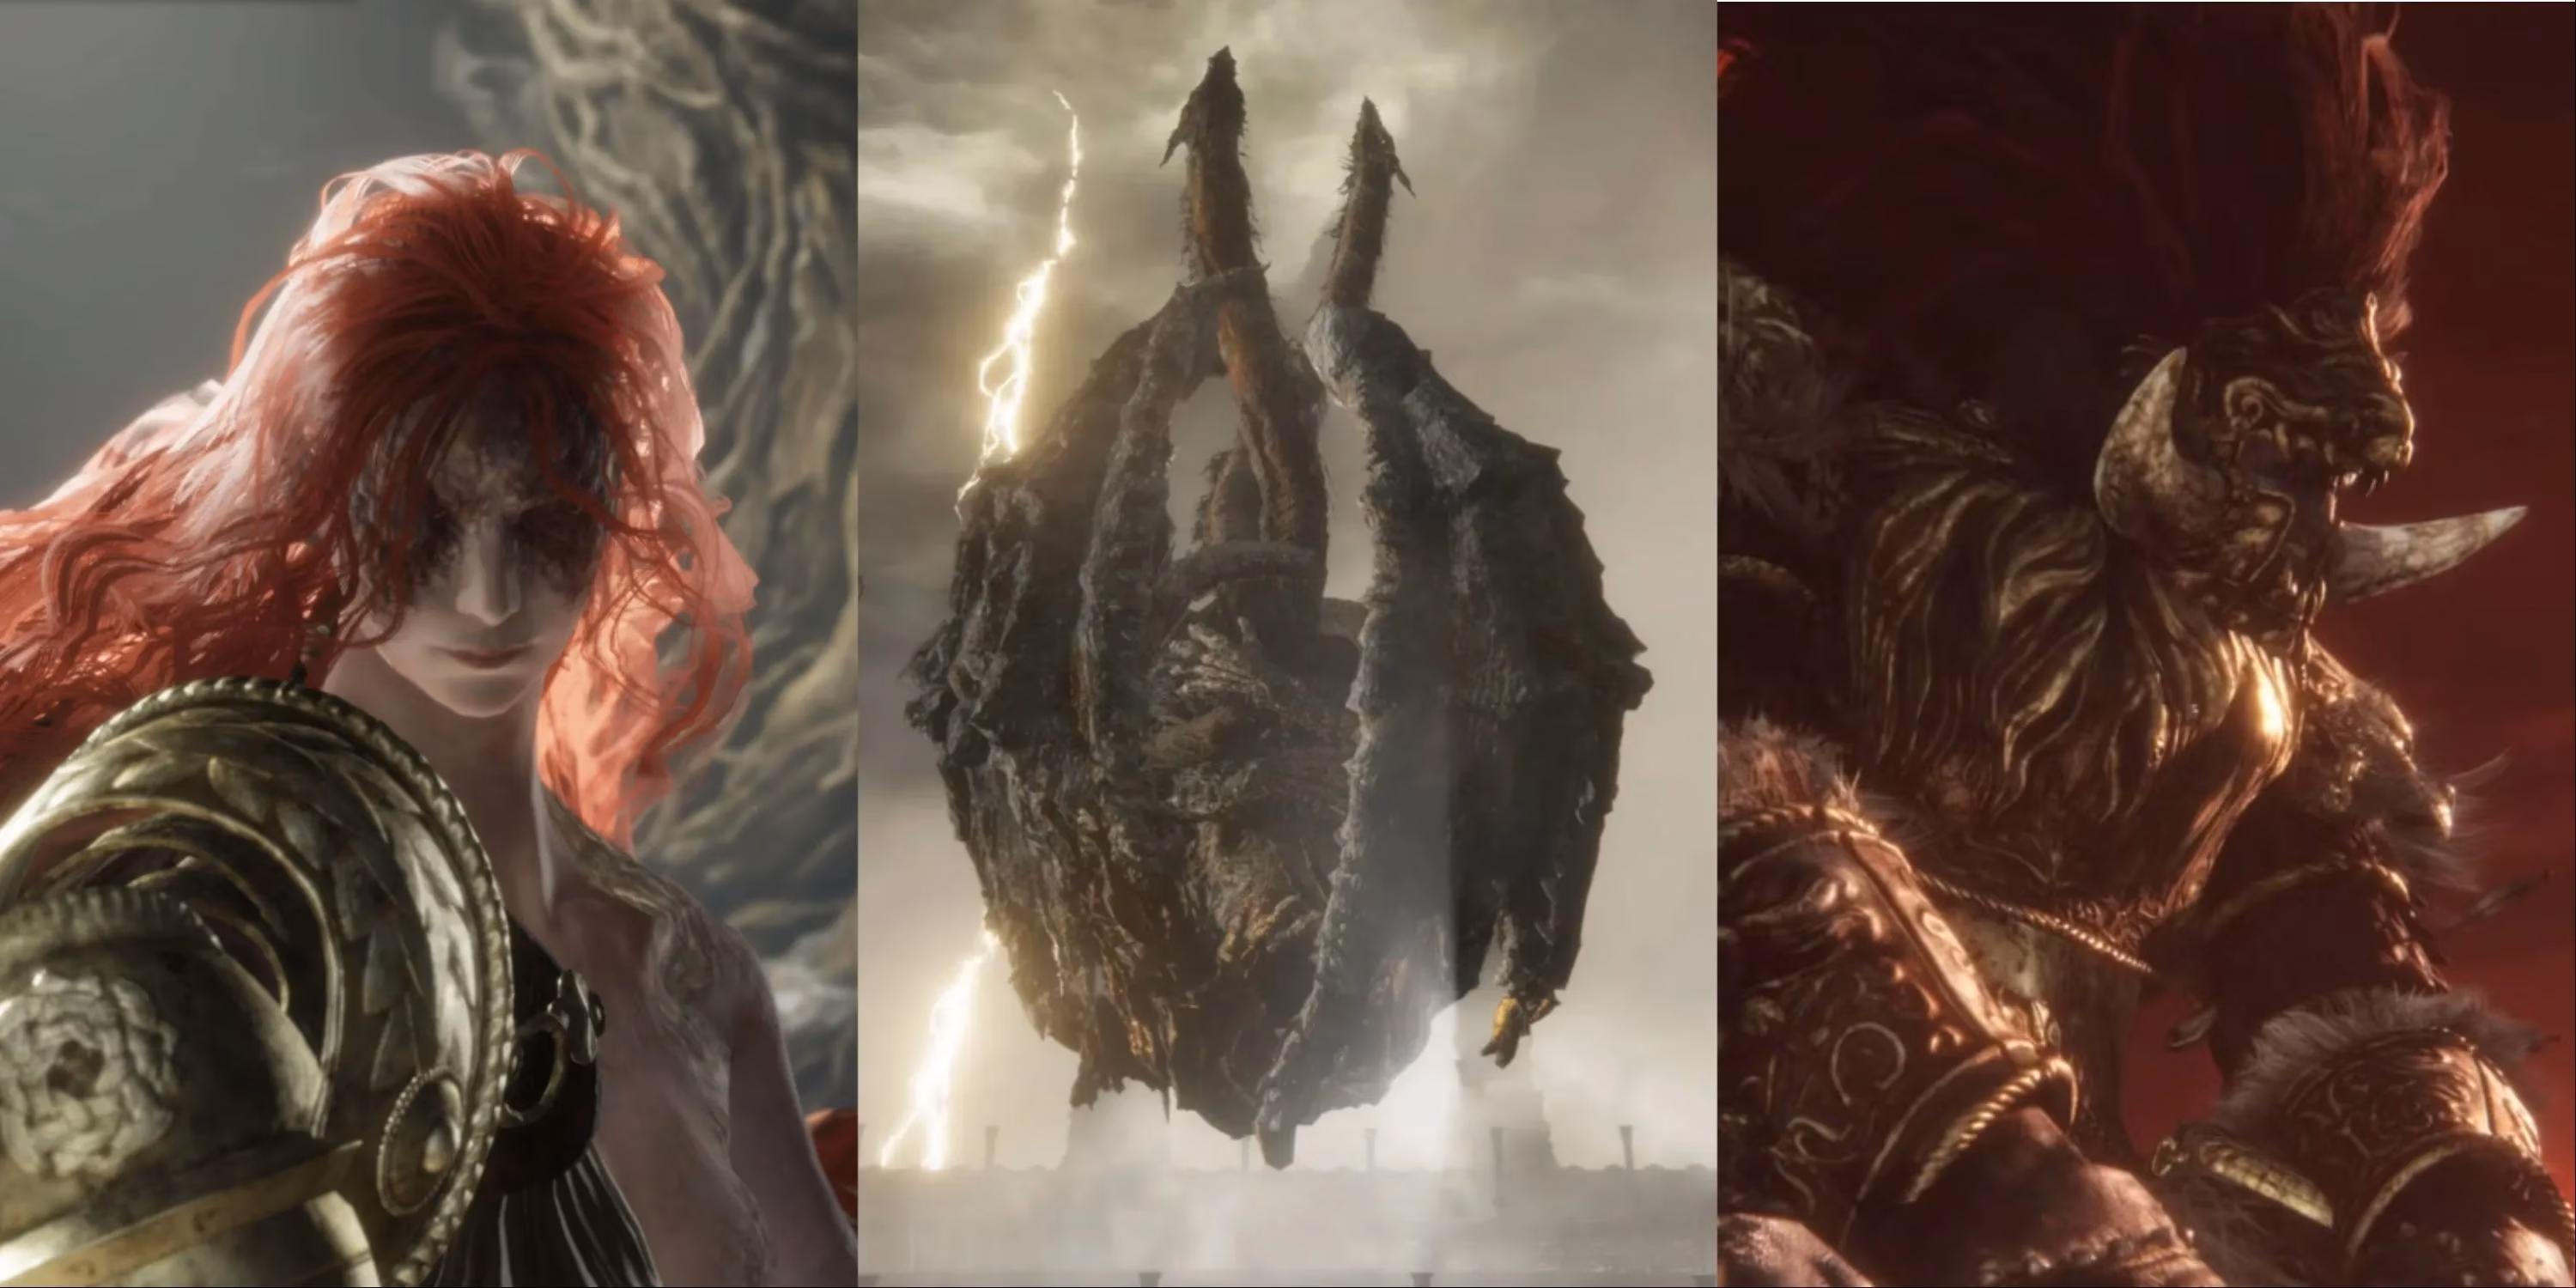
4. Dragonlord Placidusax
The two-headed dragon resting at the heart of the storm in Crumbling Farum Azula is a spectacle of sheer power. This is a fight that feels truly epic and ancient.
-
Signature Attack: His massive red lightning bolt that slams into the ground and sends waves of lightning outward is iconic and devastating.
-
Phase Two Trick: He turns to mist, vanishes, and reappears from a red lightning cloud to swoop down with more lightning attacks. Keeping track of him is a challenge in itself.
-
Scale of Combat: This fight challenges you to dodge attacks that cover the entire arena. It's a battle of endurance and spatial awareness against a legendary foe.
3. Starscourge Radahn
General Radahn, the mightiest of the demigods, driven mad by Scarlet Rot, is a cultural moment in Elden Ring. Roaming the Caelid desert on his tiny horse, he's a master of gravity magic.
-
Meteor Man: His move-set includes summoning meteors from the sky and even launching himself as a human meteor. It's as awesome as it sounds.
-
Festival Vibe: The fight is unique because you can summon a small army of NPCs to help. It turns the battle into a chaotic, glorious war.
-
Legacy: While manageable with summons, a solo victory against Radahn is a badge of honor. He covers so much ground with his abilities that the entire desert becomes his arena.
2. Bayle the Dread
The forefather of drakes atop Jagged Peak might just be the most visually stunning and technically demanding dragon fight in any Souls game. He lives up to his name.
-
Flight Master: Bayle uses his wings more than any other dragon, constantly flying away to create distance and rain down fire-lightning bolts.
-
Environmental Hazard: Mid-fight, he sets the entire arena on fire, making it nearly impossible to find a safe spot to heal.
-
Explosive Finale: In phase two, nearly every one of his attacks causes extra explosions. The fight is a constant, beautiful, and terrifying barrage of fire and lightning. He is the pinnacle of dragon boss design and difficulty.
1. Malenia, Blade of Miquella
And here she is. The one. The only. Malenia. She is not just the hardest optional boss; for many, she is the hardest boss in modern gaming history. Sister of Miquella and the source of the Scarlet Rot, she awaits at the Haligtree.
-
The Infamous Move: Waterfowl Dance. She leaps into the air and unleashes a flurry of slices in multiple lunges. Learning to dodge this move is a rite of passage.
-
Phase Two Goddess: She sprouts Scarlet Rot wings and gains even more power. Her Scarlet Aeonia spell is a gorgeous, screen-filling flower explosion that deals catastrophic damage.
-
What Makes Her #1: Her relentless, graceful combos, her life-steal ability that punishes blocked hits, and the sheer perfection required to beat her. Defeating Malenia solo is the ultimate flex for any Tarnished. She is the undisputed, unforgiving skill check of Elden Ring.
| Boss | Location | Key Challenge |
|---|---|---|
| Malenia | Haligtree | Waterfowl Dance, Life Steal, Scarlet Rot |
| Bayle the Dread | Jagged Peak | Fire Arena, Explosive Attacks, Constant Flight |
| Starscourge Radahn | Caelid | Meteor Attacks, Massive AoE, Gravity Magic |
| Dragonlord Placidusax | Crumbling Farum Azula | Red Lightning, Teleportation, Huge Health Pool |
| Metyr, Mother of Fingers | Land of Shadow | Laser Snipes, Tail Slam, Magic Domination |
So there you have it, folks! These are the trials that will push you to your absolute limit. Whether it's mastering Malenia's dance or surviving Bayle's inferno, overcoming these bosses is what makes an Elden Lord. Good luck, Tarnished... you're gonna need it. 👑🔥