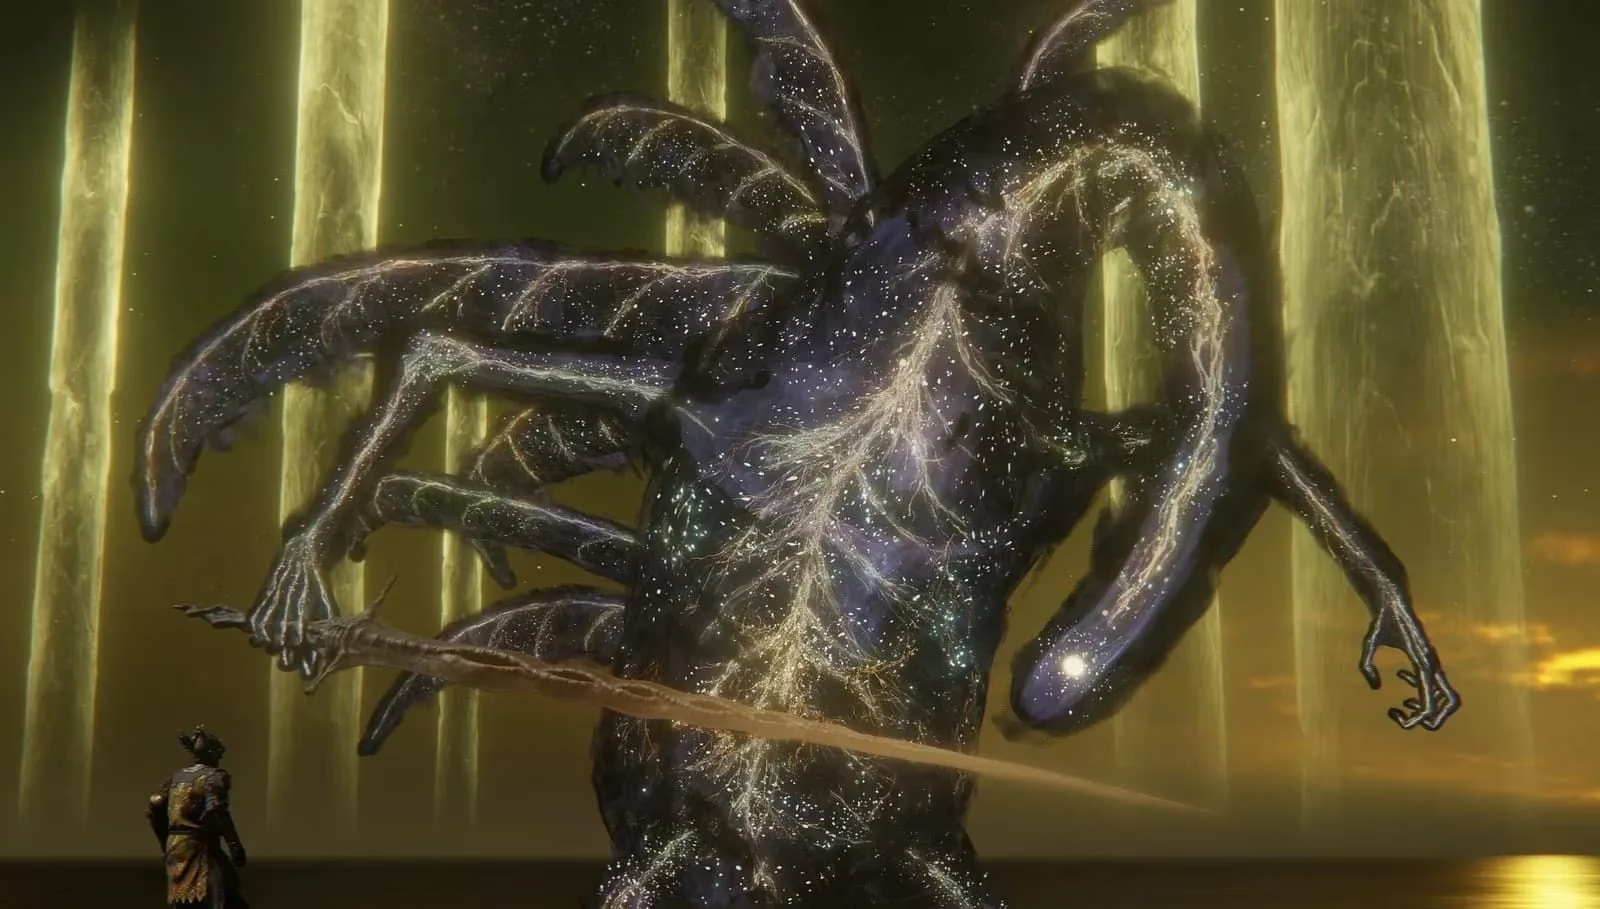
The journey through the Lands Between culminates in a confrontation that tests every ounce of a Tarnished’s skill and patience. After toppling Godfrey, the First Elden Lord, there is not a single moment to catch a breath—no mobs to clear, no Site of Grace to rest at. The arena becomes a back-to-back gauntlet, pitting players first against Radagon of the Golden Order and then, with scarcely a pause, against the shimmering, otherworldly Elden Beast. For many, this final encounter is a brick wall, but a closer look reveals that the colossal, sword-wielding entity harbors a glaring Achilles’ heel. With the right approach, what seems like an insurmountable ordeal turns into a manageable, almost scripted victory.
The Gauntlet Begins: Radagon, the Gatekeeper
Before the Elden Beast even enters the picture, the Tarnished must dispatch Radagon. This fight is no cakewalk; his delayed holy slams, quick gap-closers, and massive area-of-effect bursts can shred an unprepared build in seconds. The key to making Radagon a pushover lies in the art of distraction. A fully upgraded Mimic Tear Ash is worth its weight in runes here—acting as a living decoy that soaks up the punishment. The moment the battle commences, summoning this tanky doppelgänger is step one. While Radagon locks onto the spirit, the player can freely strafe to his flanks and hammer away with physical or strike damage, which he is notably weak to. Timing is everything, though: even with a reliable summon, one must roll through his triple wave of golden ground slams and punish every opening. Learning to dodge his grab attack—instantly recognizable by the glowing hand—can save a run. Once Radagon crumbles, a cinematic transition sweeps the Tarnished into a luminescent sea, and the true final boss makes its entrance.
The Elden Beast Takes the Stage
Emerging from the radiance, the Elden Beast floats on a cosmic backdrop that could make a grown warrior weep at its beauty. It wields a massive sword that crackles with divine energy and unleashes a bag of tricks borrowed from the stars themselves. First-timers often panic at the sheer spectacle—ranged holy projectiles, expanding golden rings, a grab that looks like a deity’s embrace, and clouds of phosphorescent mist that track the player relentlessly. But here’s the rub: for all its grandeur, the Elden Beast has a monumental blind spot. Its design heavily punishes frontal aggression, yet leaves its rear end almost completely undefended.
The Secret Weakness: Give It the Cold Shoulder
The strategy that has been passed down through the Tarnished grapevine is deceptively simple: stick to its back like glue. If a player immediately sprints behind the beast as the fight begins, the majority of its melee swipes will whiff entirely. Even better, the Elden Beast occasionally enters a low-activity state where it simply floats in place, letting out harmless noises while the Tarnished unloads the whole nine yards—flasks, weapon skills, and charged heavies—without a shred of retaliation. This isn’t a glitch; it’s an intended blind spot that turns the fight into a literal walk in the park. Players who have struggled for hours have reported flawless victories by simply circling clockwise and maintaining position near its tail or lower back fins.
Surviving the Starry Storm
Of course, the beast won’t always play nice. It frequently swims away, repositions, and launches its signature long-range attacks. Two moves demand special attention:
-
Ring of Light: The Elden Beast rises and creates a wide, expanding circle of holy energy. To avoid this, sprint toward the boss and jump over the ring’s edge the moment it reaches the character. The timing feels tight at first, but with a few attempts it becomes second nature.
-
Golden Wave: A sweeping arc of light that moves fast. Lock off and run to the side—don’t roll unless absolutely necessary.
-
Elden Stars: A homing cluster of smaller projectiles that chase for ages. Simply sprint laterally and let them fizzle out while keeping an eye on the boss’s position.
Once these attack patterns are recognized, the game plan becomes rinse and repeat: close the distance, get behind the beast, and dish out damage until it teleports. Then close the gap again. Repeat until the credits roll.
Fine-Tuning the Approach
While the behind-the-back method works with almost any build, a few tweaks can make the encounter a breeze. Physical damage types—standard, slash, and strike—are all solid, but strike weapons like great hammers can stagger the beast faster. Holy damage is a trap; the Elden Beast absorbs it like a sponge, so avoid sacred-infused weapons unless you fancy a 15-minute slog. Status effects like Bleed and Frostbite are virtually useless due to the boss’s massive resistances, so raw AR is king.
The right talismans and armor also tip the scales. Stacking holy damage negation with the Haligdrake Talisman +2 and the Lord’s Divine Fortification incantation reduces the beast’s holy arsenal to mere tickles. For stamina management, the Green Turtle Talisman helps during the extended chase sequences. And if the Mimic Tear didn’t survive the Radagon phase, Black Knife Tiche can serve as a nimble alternative that reliably dodges the beast’s attacks while chipping away with its destined death effect.
The Sweet Taste of Victory
As of 2026, these tactics remain tried and true. The Elden Beast no longer inspires the dread it once did, because its secret is out: for a cosmic deity, it really doesn’t watch its six. Tarnished who once threw their controllers in frustration now laugh in its face, armed with nothing more than a sprint button and a willingness to exploit its size. So the next time that shimmering serpent rises from the water, remember—it’s not about being the most powerful warrior, it’s about being the most positionally savvy one. Stay behind, stay hungry, and the Elden Throne is yours for the taking.
This assessment draws from PlayStation Trophies, emphasizing how late-game boss encounters like Radagon and the Elden Beast reward consistency over gimmicks—clean positioning, stamina discipline, and repeatable dodge timing. Applied to the Elden Beast specifically, the fight becomes far more reliable when you treat it like a chase-and-punish loop: close distance efficiently after each swim-away, prioritize survivability against holy chip damage, and keep damage output simple and sustained rather than chasing status procs that the boss heavily resists.